How to integrate Zapier and DriveUploader
In this article, we'll guide you through setting up an automated workflow using DriveUploader and Zapier. You can't integrate DriveUploader directly with Zapier, but every file upload with all metadata is stored in a spreadsheet and you can connect Google Sheet to Zapier.
Before you begin
Before we begin, ensure you have the following:
Step 1: Set Up DriveUploader
The first step to saving file uploads to a spreadsheet is to enable this function in the settings of the uploader. When creating or editing the uploader, turn on the "Create a spreadsheet with metadata for each upload" option in the Settings tab.

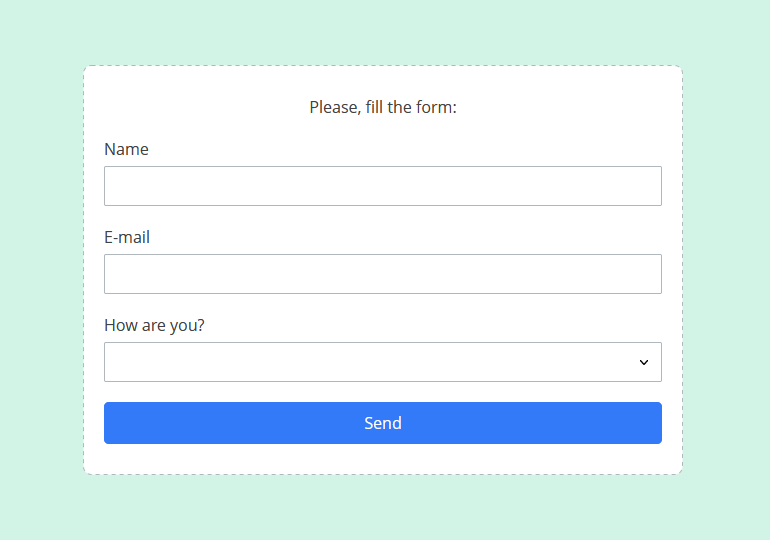
In addition to the above option, you can collect all metadata using a custom form. You can learn more about custom forms here.

Step 2: Create a Zap in Zapier
Go to Zapier and start creating automation.
1. Create a New Zap:
- Log in to your Zapier account.
- Click on "Create Zap".

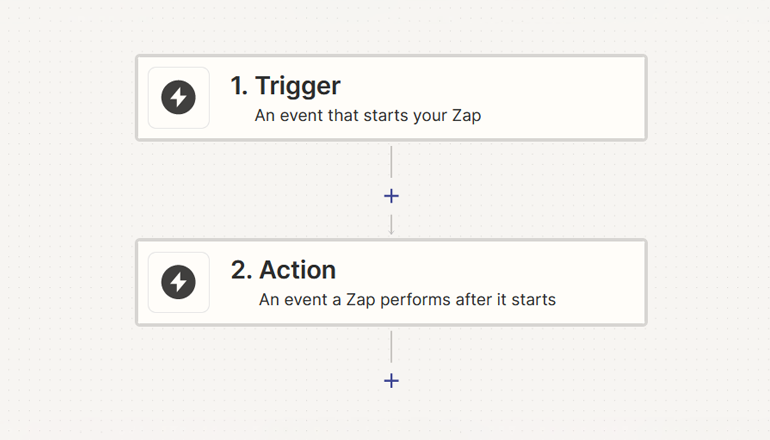
2. Set Up the Trigger:
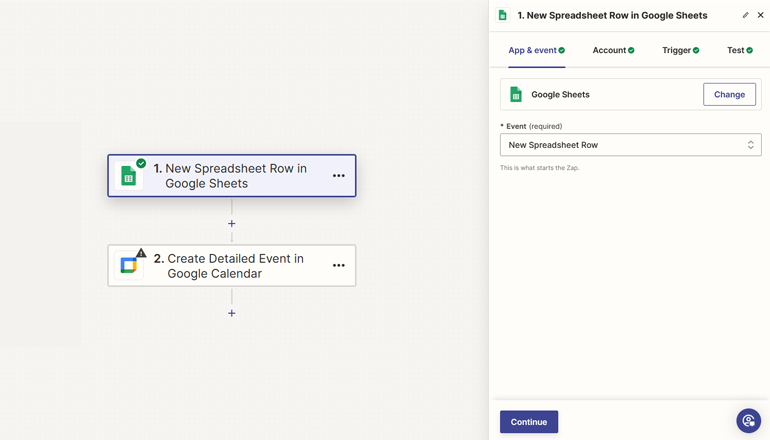
- App: Google Sheets
- Event: New Spreadsheet Row
- ChooseAccount: Connect your Google Sheets account.
- SetUp Trigger: Select the Google Sheet and specific worksheet where form data from DriveUploader is saved.

Example: After uploading a file, create a new calendar event
This automation will streamline the process of creating appointments based on form data collected during file uploads. When a user uploads a file via DriveUploader, the form data will be saved to a Google Sheet, and Zapier will then extract the date from the sheet to create an appointment in Google Calendar.
Add Action
Create a new Zap, set the trigger and then add the action.
- App: Google Calendar
- Event: Create Detailed Event
- Choose Account: Connect your Google Calendar account.
- Set Up Action:
- Calendar: Select the calendar where you want the appointment to be created.
- Summary: Set to “Appointment with [Name]” (use the name field from Google Sheets).
- Description: Include any additional details from the form.
- Start Date & Time: Map this to the “Appointment Date” field from Google Sheets.
- End Date & Time: Set an appropriate duration for the appointment.
- Test Action: Run a test to ensure the event is created correctly in your Google Calendar.

By setting up this automation, you can save time and reduce manual entry errors by ensuring that appointments are automatically created in Google Calendar based on data collected from DriveUploader forms. This workflow not only improves efficiency but also ensures you never miss an important meeting or appointment.
Troubleshooting Tips
- Data Formatting: Ensure the date format in Google Sheets matches the expected format in Google Calendar.
- Zapier Logs: If the Zap fails, check the Zapier task history for error details and correct any issues.
- Permissions: Ensure that Zapier has the necessary permissions to access your Google Sheets.
Tips for other DriveUploader automation via Zapier
Let's take a look at some of the ways automation can be used:
- Automated Notifications: Send a Slack message or email when a new file is uploaded.
- Customer Support Integration: Create support tickets in Zendesk or Freshdesk for new uploads.
- Document Generation: Generate and email PDF receipts or confirmations.
- CRM Updates: Update or create contacts in HubSpot or Salesforce with form data.
- Task Creation: Create tasks in Asana or Trello for each new file upload.
Feel free to experiment with additional steps or customizations to further streamline your processes. Happy automating!
