Integration with Wordpress, Joomla, Drupal, JQuery, React and more
Embedding via iFrame | JavaScript API | Webhook
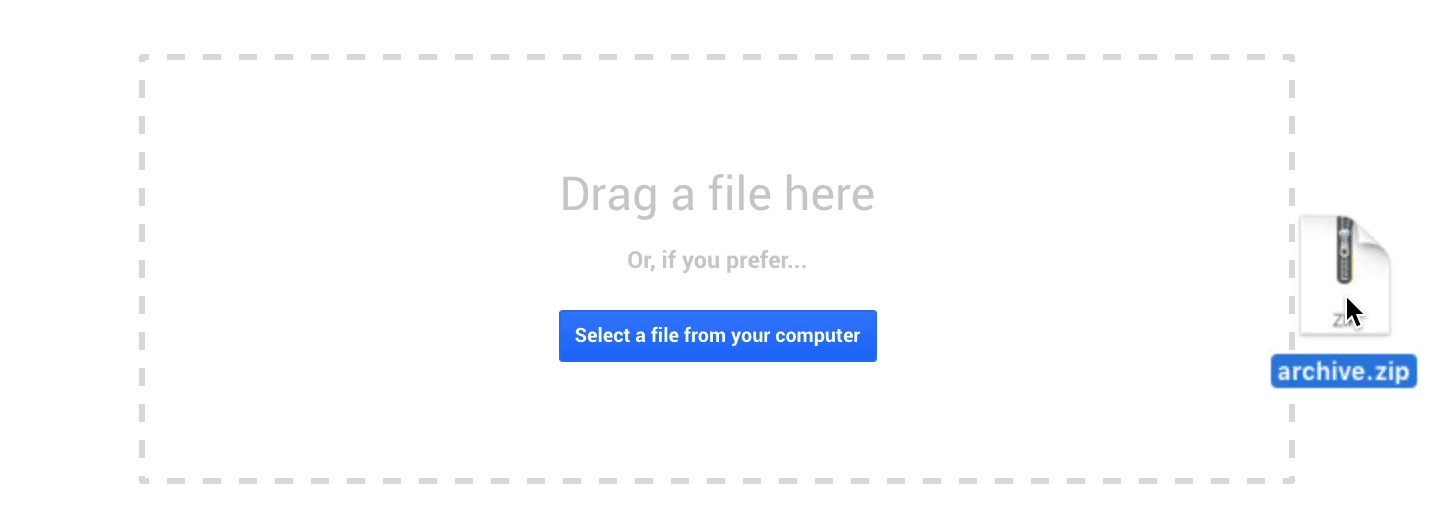
Software developers and companies need a simple to use upload component for receiving very large files in websites or online products. We use JavaScript and HTML5 to reliably transfer files directly by drag&drop in all modern web browsers. The component can handle files with size in hundreds of gigabytes without issues.
The component saves the data to your Google Drive account - every Gmail account has 15 GB free with affordable storage upgrade plans. Business and education accounts comes with unlimited cloud storage. Successful upload can trigger an action on your server, where uploaded files can be easily transferred or deleted with gdrive or other tools and processed with your own business logic.
The easiest way how to integrate the component with your website is to use iFrame embedding. It is best for embedding in Wordpress, Joomla, Drupal, Blogger and other content management systems (CMS) and WYSIWYG web publishing platforms. All you need is copy&paste the HTML code prepared after you create an uploader in our website. The code looks l ike this:
<iframe src="https://driveuploader.com/upload/{uploader key}/embed/"></iframe>
Configuration for the notification email and webhooks triggered after the upload are in [My uploaders](/admin) admin section of this service. The component is responsive and fills the whole area of the iframe.
In case you need more advanced customisation of look&feel of behaviour of the uploader, for example ask users for additional information or include link to uploaded files into your own emails, then you can use our JavaScript API.
Add following code to your page:
  <div class="driveuploader-replace"></div>
  <script src="https://driveuploader.com/upload/{uploader key}/embed.js"></script>
When the script is loaded, all elements with driveuploader-replace class are replaced with a new DriveUploader instance. Alternatively, you can use driveuploader-fill class to specify the element to insert the instance into instead of replacing the whole content.
Status changes are passed to your code via a callback. The function to
be called can be specified by appending ?callback=callback_function_name
to the script url. (Default value is driveUploaderCallback.)
The callback should be a function accepting 3 parameters:
function driveUploaderCallback(status, results, instance) {...}
The status is a string identifying the type of event,
the results argument is used to pass information about
the uploaded files (format is identical to the webhook payload; see below)
and the instance always refers to the relevant DriveUploader
instance so you can distinguish multiple instances and call methods (see below).
Possible status values:
init – passed after the API is loaded and instances are initiated
start – when the upload is about to start
done – when the uploading process is done
error – when the uploading process did not finish successfully
The following methods can be called on the DriveUploader instance:
#setCustomMetadata(key, value) – set custom metadata to be passed back to the webhook
#setCustomSubfolderName(name) – specify name of custom subfolder where the uploaded files
should be placed. Needs to be enabled on the uploader detail page before using.#setHook(type, hook) – set custom hook to modify the upload process; The first parameter
of hook is a callback to continue.
beforeupload – called after the files are selected but before the upload actually starts.
The hook(callback, filelist) is given the array of selected files and can perform custom logic on
it (e.g. remove files that are too large for your application, check your own backend, ...)beforefile – called before upload of every single file. The hook(callback,
file) is given the single file. Can be used if you want to specify different metadata for each file.
getUploaderId – returns uploader key.
After the upload is finished, the DriveUploader backend can use server-to-server POST webhook to pass the information to your backend. This allows you to be notified of new incoming files in case you want to do some automated processing.
Format of the payload:
  {
    "files": [
      {
      "id": "...", // Google Drive unique file ID
        "link": "https://drive.google.com/...", // link to view the file in a browser
        "name": "image.jpg",
        "size": 1510642
      },
      ...
    ],
    "folder": {
        "id": "...", // Google Drive unique folder ID
        "link": "https://drive.google.com/...", // link to view the folder in a browser
        "name": "Name of the folder"
    },
    "metadata": { // values set using #setCustomMetadata (see above)
      "key": "value"
    }
  }
The uploader can also be configured to call the webhook for each file separately (immediately after each file is uploaded). In such case, the format of the payload is identical, but the files array always contains a single item.