Google Drive is a powerful tool for collaborating on projects with others. One of its most useful features is the ability to allow others to upload files to your Drive. This can save time and streamline the collaboration process. In this guide, we'll walk you through the steps to enable this feature on your Google Drive and find out how to make receiving files from others easier and faster.
The first step to allowing others to upload files to your Google Drive is to share a folder with them. To do this, simply right-click on the folder you want to share and select "Share" from the drop-down menu. Enter the email address of the person you want to share the folder with and select the level of access you want to give them (e.g. "Can edit" or "Can view"). Once you've done this, click "Send" to share the folder with them.
That's the basic way Google offers however, when you want to receive files from many people it's really time-consuming. Moreover, what to do if you want someone else you don't know to upload to this folder? A typical example is collecting photos and videos from public events, feedback, or needed files from your users.
Is that even possible? It is. You can use third-party apps like WeTransfer however, it has its own storage and you want to receive files to your Google Drive. Fortunately, there is an option here as well.
DriveUploader allows others to upload files to your Google Drive without manually added permission. How does it work and is it safe?
The uploader is the basic component of the DriveUploader service. You can create it only one time and anyone can upload files through it to your Google Drive as long as you want. Let's start, it takes only a few minutes.
First, sign in to DriveUploader. The service runs on free or paid plans. Don't worry, unlimited upload is completely free and a credit card is not required.
Second, create an uploader. During the creation process, you choose the final Google Drive upload destination, the language of the uploader, and other customizable settings that allow you to create an uploader that fits your use case.
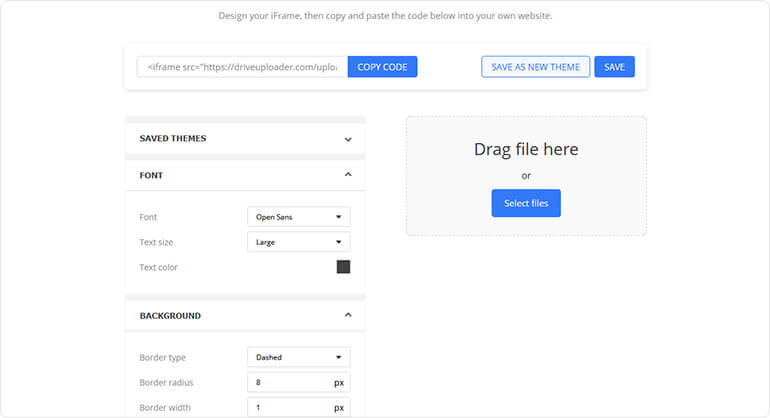
After setting up the uploader, share it. You can immediately commence sharing it through various means. You have the option to copy a link and send it via WhatsApp, Messenger, email, or whatever chatting app. Another alternative is to embed the uploader into your website using a copy and paste generated iFrame of your uploader. It's super easy.
Finally, relax and receive the files. At this point, DriveUploader takes care of everything and delivers the files directly to your storage. The files are transferred directly to your Google Drive, it means that's more secure than email.
In many cases, you need to collect additional information to uploaded files such as the name or contact of the person who uploaded. DriveUploader offers this too, even in the free plan. When you've found out you need to know more data from the uploading people, the function called Form builder is perfect for you.
This feature allows you to build your own form using fields such as text input, checkbox, date, time, and more. The metadata will be stored in the spreadsheet next to the uploaded files. It gives you the freedom to collect any directly to your Google Drive.