How to implement an uploader into a website
There are several ways to integrate the uploader into your website. DriveUploader offers the possibility to integrate very simply using the iFrame widget, but also a very sophisticated integration using the JavaScript API.
Before you begin
The plan you need for your subscription depends on the variation of integration listed below. You can also compare these options very quickly on our plans page.
Implementation methods
It's very easy to get to the DriveUploader implementation options from the uploader admin page. When you click on the name of the uploader, you will see the options, which are described in more detail later in this article.
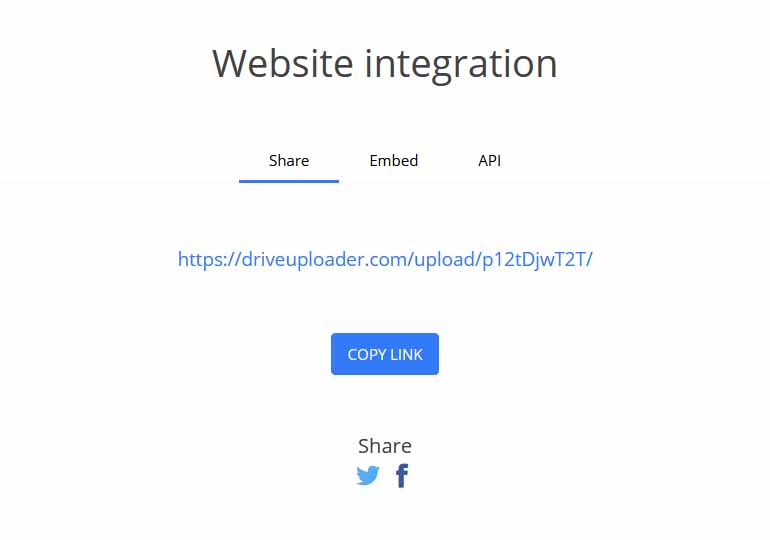
Share a link
The easiest way to embed DriveUploader directly on your page is by using the link that is automatically generated when the uploader is created. You can then use this link to, for example, redirect directly to the uploader page by clicking on a button of your choice on your website.

iFrame widget
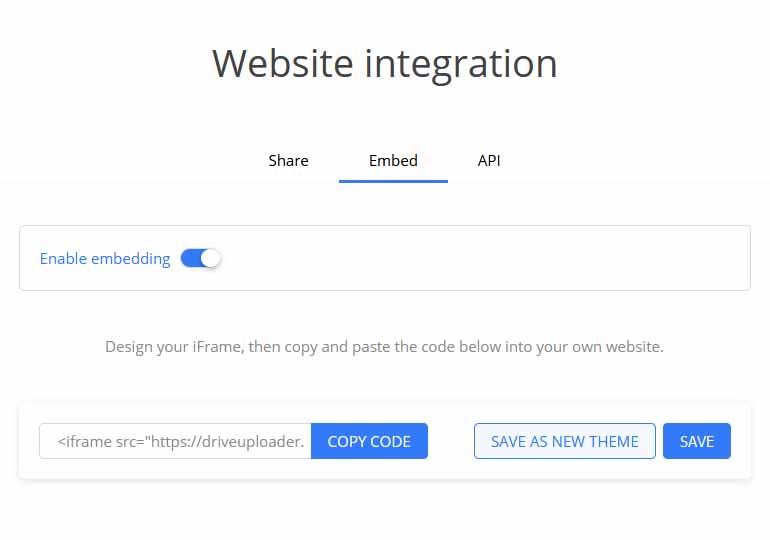
The simplest but very usable way to implement DriveUploader is to use the iFrame widget. Just copy the automatically generated code and paste it on your web page. Thanks to a unique key, this widget is linked to this uploader and all files are uploaded to the location you have when creating the uploader on Google Drive directly from your website.
The widget can also be extensively customized (size, appearance) using our design editor. You can learn more about embedding options here.
NOTE: Don't forget to enable embedding using the button above the code.

JavaScript API
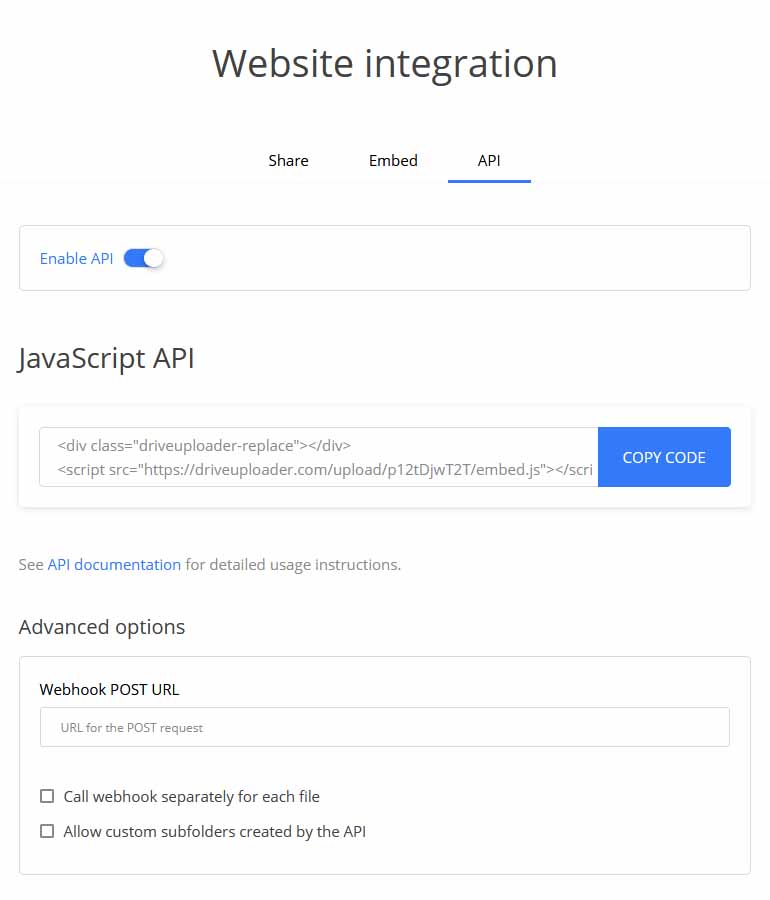
If you need to customize the uploader more to your site or work with the data on your backend there is an option to use the JavaScript API. This is an advanced integration method that in most cases requires at least a basic knowledge of JavaScript. Here you can customize saving to custom subfolders, work with metadata of uploaded files or rename files before uploading and much more.
You'll also find a number of examples on the DriveUploader JavaScript API page to help you integrate it into your site.
An extended JavaScript API option is also to use Webhook for custom callbacks. You can find out more on this page.
NOTE: Don't forget to enable API using the button above the code.

